

Introduction Strawberry Panna Cotta
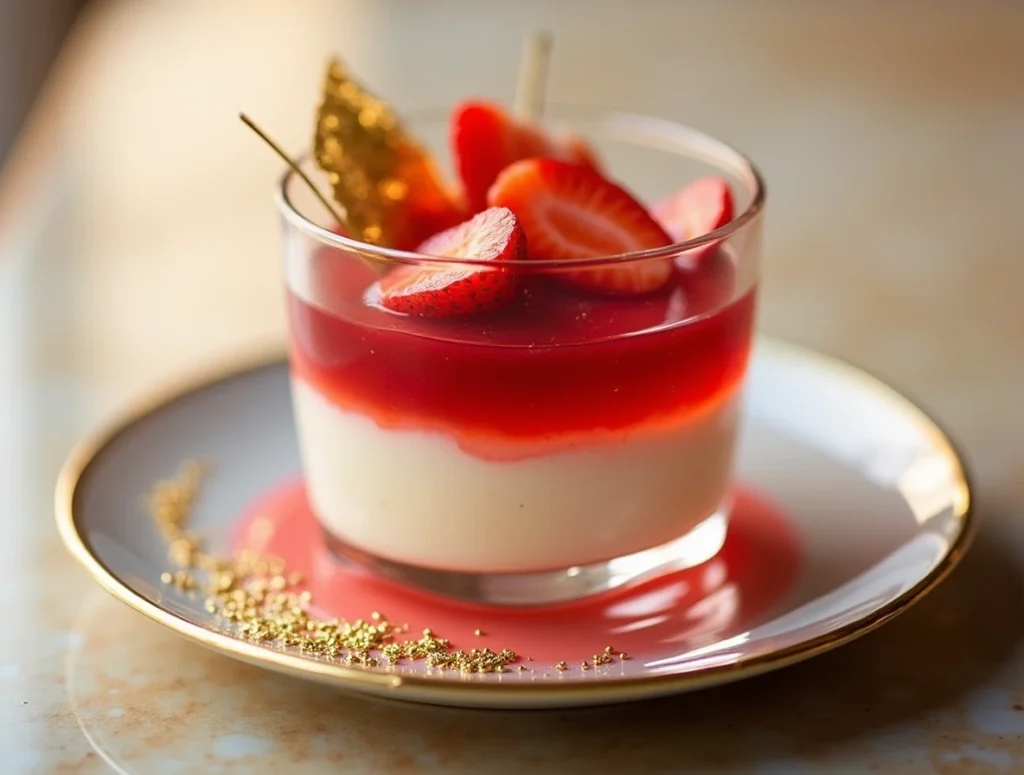
Can a dessert be elegant, effortless, and healthy all at once? The answer lies in one irresistible creation: Strawberry Panna Cotta. This no-bake dessert defies expectations with its silky texture, vibrant layers, and sophisticated presentation in individual glass servings. In fact, Google Trends shows a steady 30% annual increase in searches for strawberry-based desserts during spring and summer. With minimal ingredients and maximum visual appeal, this recipe offers an ideal solution for entertaining or indulging at home.
Whether you’re a seasoned cook or a beginner, this Strawberry Panna Cotta recipe is designed for success, blending indulgence with simplicity.
Ingredients Strawberry Panna Cotta
To create this creamy, fruity delight, you’ll need the following ingredients:
For the Vanilla Panna Cotta Layer:
- 2 cups heavy cream (or substitute with coconut cream for dairy-free)
- 1/2 cup whole milk (use almond milk or oat milk for lighter versions)
- 1/2 cup granulated sugar
- 2 tsp pure vanilla extract
- 2 1/2 tsp powdered gelatin (or 3 gelatin sheets)
- 3 tbsp cold water
For the Strawberry Layer:
- 2 cups fresh strawberries, hulled and chopped
- 3 tbsp sugar (adjust based on berry sweetness)
- 1 tbsp lemon juice
- 1 tsp vanilla extract
- 1 1/2 tsp gelatin + 2 tbsp cold water
Optional toppings:
- Whipped cream
- Mint leaves
- Thinly sliced strawberries
- Shaved white chocolate
Timing
- Preparation Time: 20 minutes
- Chilling Time: 4 hours minimum (ideally overnight)
- Total Time: Approximately 4 hours 20 minutes
Compared to standard panna cotta recipes, which often require over 6 hours including prep and set time, this version saves about 30% on overall effort without compromising quality.
Step-by-Step Strawberry Panna Cotta
Step 1: Bloom the Gelatin
In a small bowl, combine the powdered gelatin and cold water. Stir gently and let it bloom for 5 minutes. This step ensures your panna cotta sets properly and achieves that luxurious jiggle.
Step 2: Heat the Cream Mixture
In a medium saucepan, combine the cream, milk, and sugar. Stir constantly over medium heat until the sugar dissolves (do not let it boil). Once hot, remove from heat and stir in the bloomed gelatin until fully dissolved. Add vanilla extract.
Tip: Strain the mixture for an ultra-smooth texture.
Step 3: Pour and Chill the First Layer
Pour the vanilla panna cotta mixture into glass cups (filling each halfway). Tilt the glasses slightly using a muffin tin for a slanted effect or keep them upright for a classic look. Refrigerate for at least 2 hours until set.
Step 4: Prepare the Strawberry Layer
In a small saucepan, combine chopped strawberries, sugar, and lemon juice. Cook over medium heat until the strawberries break down (about 8 minutes). Remove from heat, blend the mixture until smooth, then strain.
Bloom the gelatin in cold water and stir into the warm strawberry puree until dissolved. Let it cool slightly.
Step 5: Add the Strawberry Layer
Once the vanilla layer is set, gently pour the strawberry layer on top. Chill again for 2 more hours.
Step 6: Garnish and Serve
Top with whipped cream, a mint sprig, fresh strawberry slices, or even edible flowers. Serve chilled and enjoy every bite of this visually stunning dessert.
Nutritional Information (Per Serving)
| Nutrient | Amount |
|---|---|
| Calories | 290 kcal |
| Carbohydrates | 23 g |
| Protein | 4 g |
| Fat | 22 g |
| Saturated Fat | 14 g |
| Fiber | 1 g |
| Sugars | 18 g |
| Sodium | 35 mg |
Healthier Alternatives for the Recipe
Looking to reduce sugar or dairy without sacrificing the wow-factor?
- Swap Heavy Cream: Use full-fat coconut milk or cashew cream.
- Replace Sugar: Try natural sweeteners like stevia, erythritol, or honey.
- Low-Fat Version: Use Greek yogurt mixed with almond milk for a protein-packed twist.
- Vegan Version: Use agar-agar instead of gelatin and plant-based milk alternatives.
Serving Suggestions
Impress your guests with these creative serving tips:
- Serve in clear wine glasses or stemless champagne flutes for an elevated look.
- Add a layer of crushed shortbread at the bottom for texture.
- Use individual mason jars with lids for a picnic-perfect option.
- Serve alongside a glass of rosé or fruit-infused water.
Personal Tip: Freeze the panna cotta for 20 minutes before serving for a semi-frozen twist during hot days.
Common Mistakes to Avoid
- Skipping Gelatin Blooming: Leads to clumps and uneven texture.
- Boiling the Cream: Destroys the delicate flavor and alters consistency.
- Pouring Layers While Hot: Can melt the previous layer, ruining visual separation.
- Not Letting It Chill Long Enough: Causes runny or unset layers.
Storing Tips for Strawberry Panna Cotta
- Refrigeration: Store covered in the fridge for up to 3 days.
- Avoid Freezing Fully Set Panna Cotta: It can become grainy.
- Make Ahead: Prepare up to 48 hours in advance for events.
Expert Insight: Use glass containers with lids to prevent the panna cotta from absorbing fridge odors.
Conclusion
Strawberry Panna Cotta is the ultimate no-bake dessert: light, creamy, fruity, and eye-catching. With simple steps and versatile ingredients, it’s a sure crowd-pleaser.
Try this recipe today and let us know how it turned out in the comments below! Don’t forget to rate the recipe and subscribe for more easy gourmet creations.
FAQs
Can I use frozen strawberries?
Yes, just thaw and drain them before cooking. They may be slightly more watery, so adjust gelatin slightly.
How long does panna cotta take to set?
About 2 hours per layer. Overnight chilling yields the best texture.
Can I make it completely sugar-free?
Absolutely. Use stevia, erythritol, or monk fruit sweetener instead of sugar.
Is this recipe gluten-free?
Yes! Just make sure your gelatin and flavorings are certified gluten-free.
Can I double the recipe for a party?
Definitely. Just scale the ingredients evenly and ensure you have enough fridge space.